

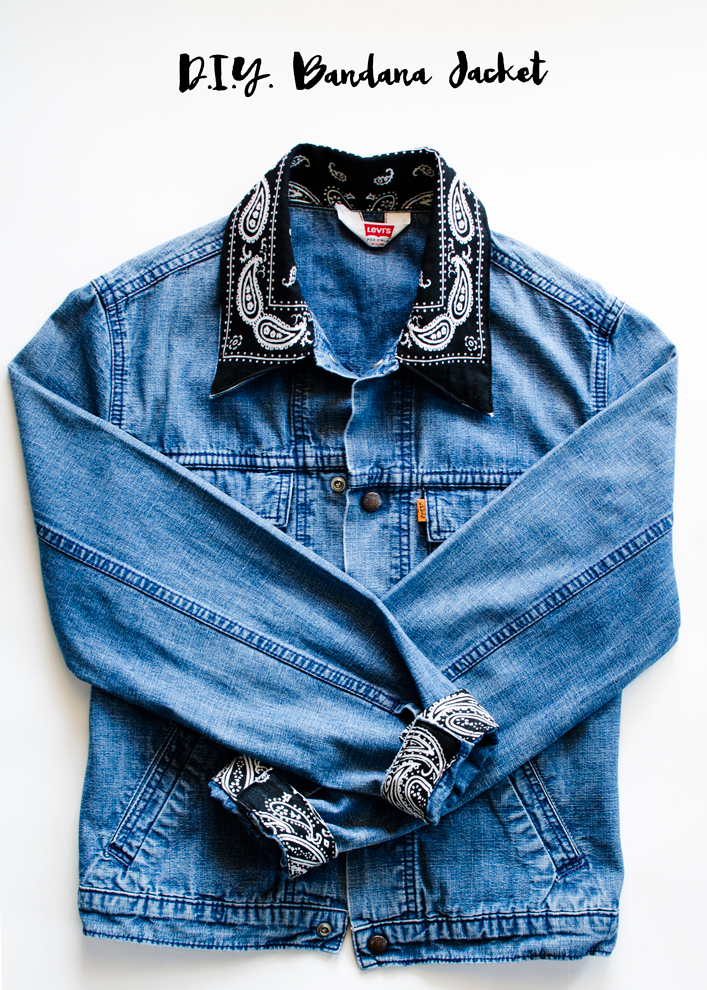
It case you haven’t heard, bandanas are officially back. It’s an easy and cheap accessory to sport this summer but what I love more are the paisley print details you see in clothes. This denim jacket from Reformation ($138) but if I send this to cart, it will be my 4th pair. So I decided to get cocky and DIY it instead with bandanas I had used for decoration on my birthday party and my beloved vintage denim jacket.
This DIY denim jacket is pretty simple. All you need is your preloved jacket, a bandana, sewing kit, precision and patience.
Scroll down for a step-by-step look at how to make this D.I.Y. bandana denim jacket:
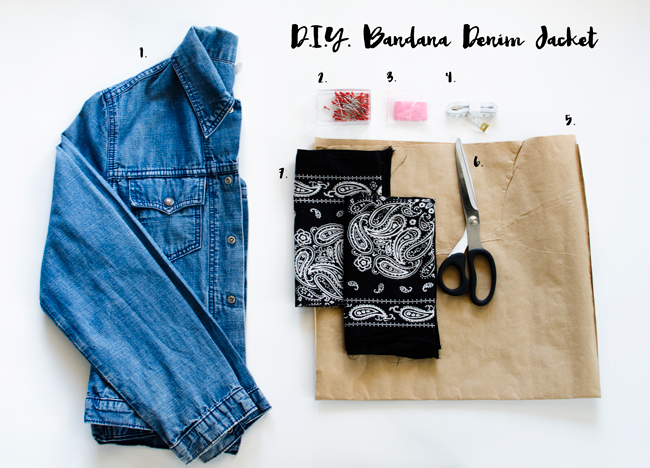
Materials you’ll need
Denim Jacket, pins, tracing chalk, measuring tape, kraft paper or tracing paper, scissors (all part of Ikea sewing kit), bandana (from Daiso QR 7), and hair straightener (not pictured).
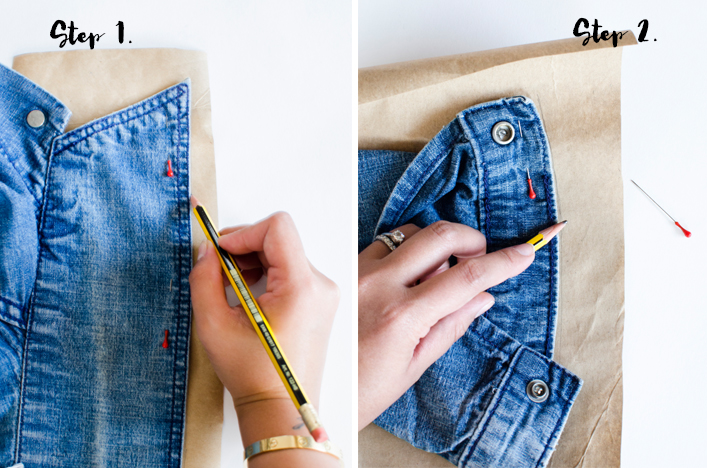
Step 1 and 2: Lay tracing paper underneath the collar, pin to place and trace. Do the same for the cuff. Remove pins and cut the outline.
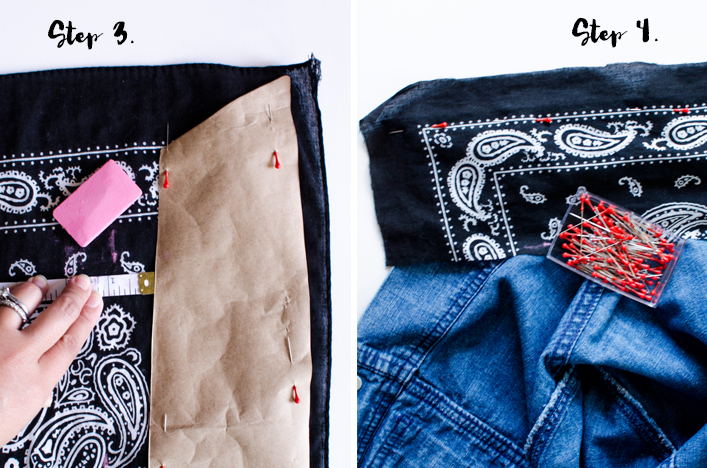
Step 3: Pin the traced paper onto the bandana and trace around with a fabric chalk leaving 1 or ½ inch allowance all around. Cut the fabric.
Step 4: Pin the bandana strip on the collar and cuff of the denim jacket.
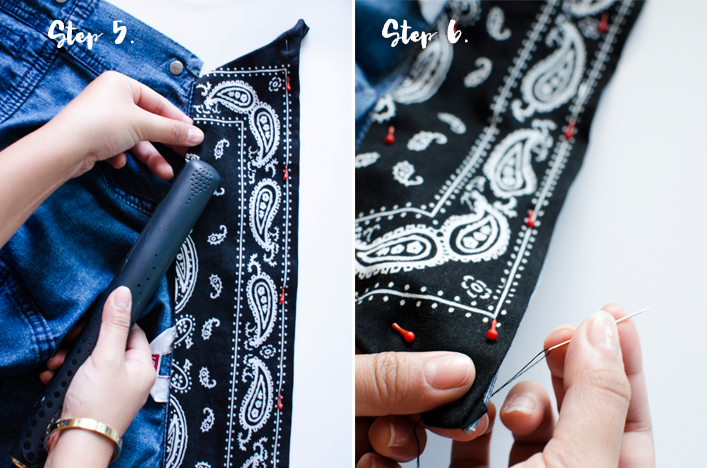
Step 5: Working one section at a time, remove the pin then fold the excess fabric under and run a hair straightener to establish a creased fold. Pin it back so it doesn’t move when you start sewing it.
Step 6: You can either machine stitch this (if you have one) or hand stitch. I hand stitched mine using a loop stich technique. After hand stitching the edge of the cuff, make a slit for the button and buttonhole using a seam ripper or an x-acto knife (this is where you need to be really precise). Over stitch around the secure the fabric.
Voila! D.I.Y. Badana Denim Jacket complete. Here’s a before and after:

Go ahead and give this DIY Denim Jacket a go and share it with me! Post it on social media, tag me and use the hashtag #clumsydiy, I’d love to see you get creative with your jacket.